How to Fix GM DTC P0332: A Step-by-Step Repair Guide

By the CarsDailyHub Editorial Team | Automotive writers; every article fact-checked against OEM service documentation and OBD-II standards | Updated June 2026
Quick Answer: To fix GM code P0332 (Knock Sensor 2 Circuit Low, Bank 2), first confirm the fault with a scan and a wiggle test, then replace the knock sensors and the knock sensor harness in the engine valley under the intake manifold, where corrosion is the usual culprit. Clean the valley, install new sensors torqued to spec with a fresh sealed harness, reassemble with new intake gaskets, clear the code, and verify it stays gone over several drive cycles.
This guide covers the repair procedure for P0332 on GM/Chevrolet/GMC V8 engines (4.8L, 5.3L, 6.0L Vortec/Gen III-IV) and applies broadly to GM vehicles that store this knock sensor code. Always follow your specific service manual. Last reviewed: June 2026.
Table of Contents
- What P0332 Is (Quick Recap)
- Tools and Parts You Need
- Step 1: Confirm the Diagnosis
- Step 2: Access the Valley (Intake Off)
- Step 3: Replace Sensors and Harness
- Step 4: Reassemble and Verify
- Mistakes to Avoid
- Frequently Asked Questions
- Sources & References
What P0332 Is (Quick Recap)
P0332 means “Knock Sensor 2 Circuit Low Input, Bank 2.” The knock sensor is a vibration microphone that lets the computer hear detonation and trim ignition timing to protect the engine. “Circuit low” means the signal voltage from the Bank 2 sensor is too low or open, so the computer ignores it and retards timing as a precaution, costing you a little power and economy.
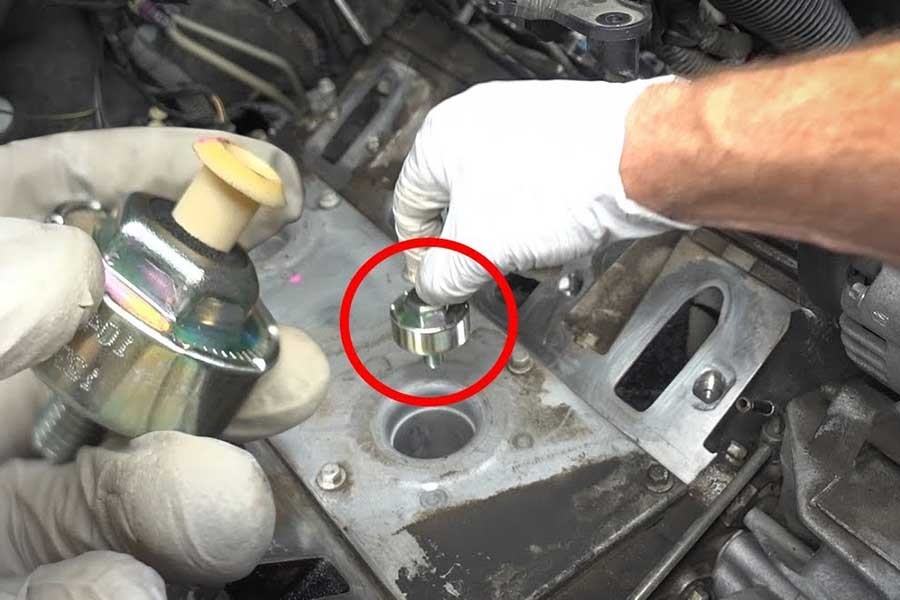
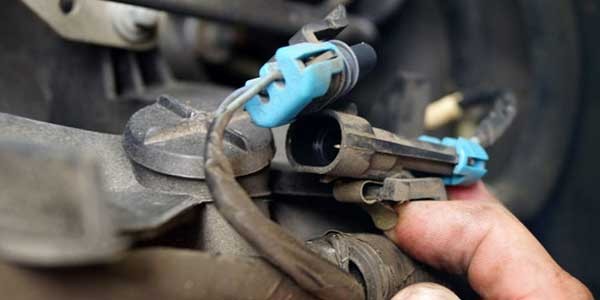
On GM V8 engines the knock sensors are mounted in the lifter valley under the intake manifold, a damp, debris-prone spot. That location is why P0332 is so common and why the repair almost always involves removing the intake.
Tools and Parts You Need
Parts:
– Knock sensors (replace both, Bank 1 and Bank 2)
– Knock sensor wiring harness (ideally an upgraded, better-sealed unit)
– Intake manifold gasket set
– Thread sealant if specified for the sensor bolts
Tools:
– Socket set and ratchet, torque wrench
– Trim tools and connector release picks
– Multimeter (for diagnosis)
– Scan tool to read and clear codes
– Shop towels and a vacuum for cleaning the valley
Buying both sensors and the harness up front is the smart move, the labor is identical whether you replace one or both, and you do not want to repeat an intake-off job.
Step 1: Confirm the Diagnosis
Do not pull the intake until you have confirmed the fault:
- Scan for all codes. If P0327 (Bank 1) is present with P0332, that strongly indicates a shared harness problem.
- Check sensor resistance. With a multimeter, measure the knock sensor’s resistance to ground and compare it to the service spec. An open or shorted reading confirms a bad sensor.
- Do a wiggle test. Watch knock sensor voltage on live data while gently moving the harness; a dropout reveals broken or corroded wiring.
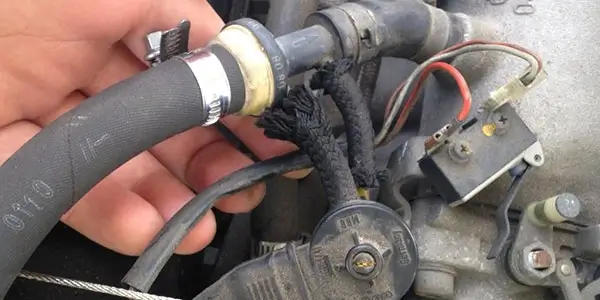
- Inspect connectors. Green or white corrosion on the pins is the classic GM finding and points straight to the harness.
Step 2: Access the Valley (Intake Off)
- Disconnect the negative battery terminal.
- Relieve fuel pressure and disconnect the necessary lines, electrical connectors, and the throttle body/intake tubing.
- Remove the upper intake/plenum if applicable, then the intake manifold bolts in the reverse of the tightening sequence.
- Lift the intake off and cover the lifter valley openings to keep debris out.
- You now have access to both knock sensors and the harness sitting in the valley.
Take photos as you go, they make reassembly far easier.
Step 3: Replace Sensors and Harness
- Unbolt and remove both old knock sensors.
- Remove the corroded harness, noting its routing.
- Clean the valley thoroughly, any debris, oil sludge, or rodent nesting material. A clean, dry valley helps the new parts last.
- Install the new knock sensors and torque them to the manufacturer’s specification (overtightening can crack a sensor and give a false reading; undertightening skews the signal). Use thread sealant only if the service manual calls for it.
- Route and connect the new harness, seating each connector fully until it clicks.
A quality sealed harness is worth the small extra cost because the original failure mode is moisture intrusion.
Step 4: Reassemble and Verify
- Install the intake manifold with new gaskets, torquing the bolts in the correct sequence and to spec.
- Reconnect everything you removed, fuel, vacuum, electrical, and intake tubing.
- Reconnect the battery.
- Clear the codes with your scan tool.
- Start the engine and let it idle, then drive several cycles. If P0332 (and P0327) do not return, the repair is confirmed.
- If a knock code returns immediately, recheck connector seating and torque before suspecting the computer.
Mistakes to Avoid
- Replacing only one sensor. With the intake already off, replace both and the harness; the labor is the same.
- Skipping the harness. The harness, not the sensor, is the most common failure on these engines.
- Over-torquing the sensor. This cracks the piezo element and can set the code again.
- Leaving the valley dirty. Debris and moisture caused the failure; clean it before reassembly.
- Guessing instead of testing. Always confirm with resistance and wiggle tests before this much labor.
Frequently Asked Questions
Q: How hard is it to fix P0332 yourself?
A: It is a moderate DIY job. The parts are cheap and the work itself is not highly technical, but you must remove the intake manifold to reach the knock sensors in the valley, which takes time and care. If you are comfortable removing an intake and using a torque wrench, it is very doable in an afternoon. Otherwise a shop handles it routinely.
Q: Should I replace both knock sensors for P0332?
A: Yes. Even though P0332 is the Bank 2 sensor, the sensors sit side by side in the valley under the intake, so the labor to reach one is the labor to reach both. Replacing both sensors and the harness together while everything is apart avoids a repeat job and is the standard approach on GM V8 engines.
Q: Why does the knock sensor torque matter?
A: A knock sensor works by sensing engine vibration, so it must be torqued exactly to spec. Too loose and it cannot read vibration accurately; too tight and the piezo element can crack, which itself sets a circuit code. Always use a torque wrench and the manufacturer’s value rather than guessing by feel.
Q: Will fixing P0332 improve performance or fuel economy?
A: It can. When the computer loses a knock sensor signal it retards ignition timing as a safety measure, which slightly reduces power and fuel economy. Restoring a good knock sensor signal lets the computer run normal timing again, so you may notice better throttle response and economy after the repair.
Q: Can I just clear the code instead of fixing it?
A: You can clear it, but it will return because the circuit fault is still there. Clearing without repair also erases the freeze-frame data that aids diagnosis and resets emissions readiness monitors. The only lasting fix is to replace the failed sensor and harness and clean the valley.
Sources & References
- General Motors service information for Vortec/Gen III-IV V8 knock sensor systems
- SAE J2012 OBD-II code definitions (P0332, P0327)
- Manufacturer torque and resistance specifications
- RepairPal repair cost references for knock sensor replacement
Related articles on CarsDailyHub:
– OBD Codes and Diagnostics: Complete Guide
– P0332 Code on a Chevy Silverado
– How to Use an OBD Scanner
– How to Fix P1101 on a Chevy Malibu